If you enjoy homemade butter, you might wonder if you can use a home butter churn to make whipped or spreadable butter. You can create both whipped and spreadable butter at home with the right tools and simple techniques. While classic churning gives you fresh, firm butter, a few adjustments help you get a softer, easier-to-spread result.
Many home butter churns, including an electric butter churn for small dairies, can handle basic butter, and some even allow you to tweak the final texture. Add a bit of oil for spreadable butter or use a mixer after churning for whipped butter. With a few small changes, your homemade butter can be just as soft or airy as you like.
Making Whipped Or Spreadable Butter At Home

You can make whipped or spreadable butter using basic tools and common ingredients. These methods give you soft butter for easy spreading and let you control the taste and texture.
Traditional Butter Churn Techniques
When using a home butter churn, you start by adding heavy cream at room temperature. As you churn, the fat separates from the buttermilk. This creates a lump of fresh butter and leaves behind liquid buttermilk.
Once the butter forms, you should rinse it under cold water. This helps remove any leftover buttermilk, which can make butter spoil faster. Next, knead the butter by hand or with spatulas to squeeze out any trapped liquid.
Home-churned butter is usually dense and firm. For softer butter, you can let it sit out for a short time. Some people also add a small amount of salt for flavor.
How to Achieve Whipped Texture
To make whipped butter, start with softened butter at room temperature. If you are using freshly churned butter, let it warm up for a few minutes. Use a stand mixer or hand mixer with a whisk attachment.
Beat the butter on medium or high speed for three to five minutes. This adds air and makes the butter fluffy and light. For extra creaminess, you can add a little bit of milk or cream while mixing. Use about 1-2 tablespoons of milk or cream for every stick of butter.
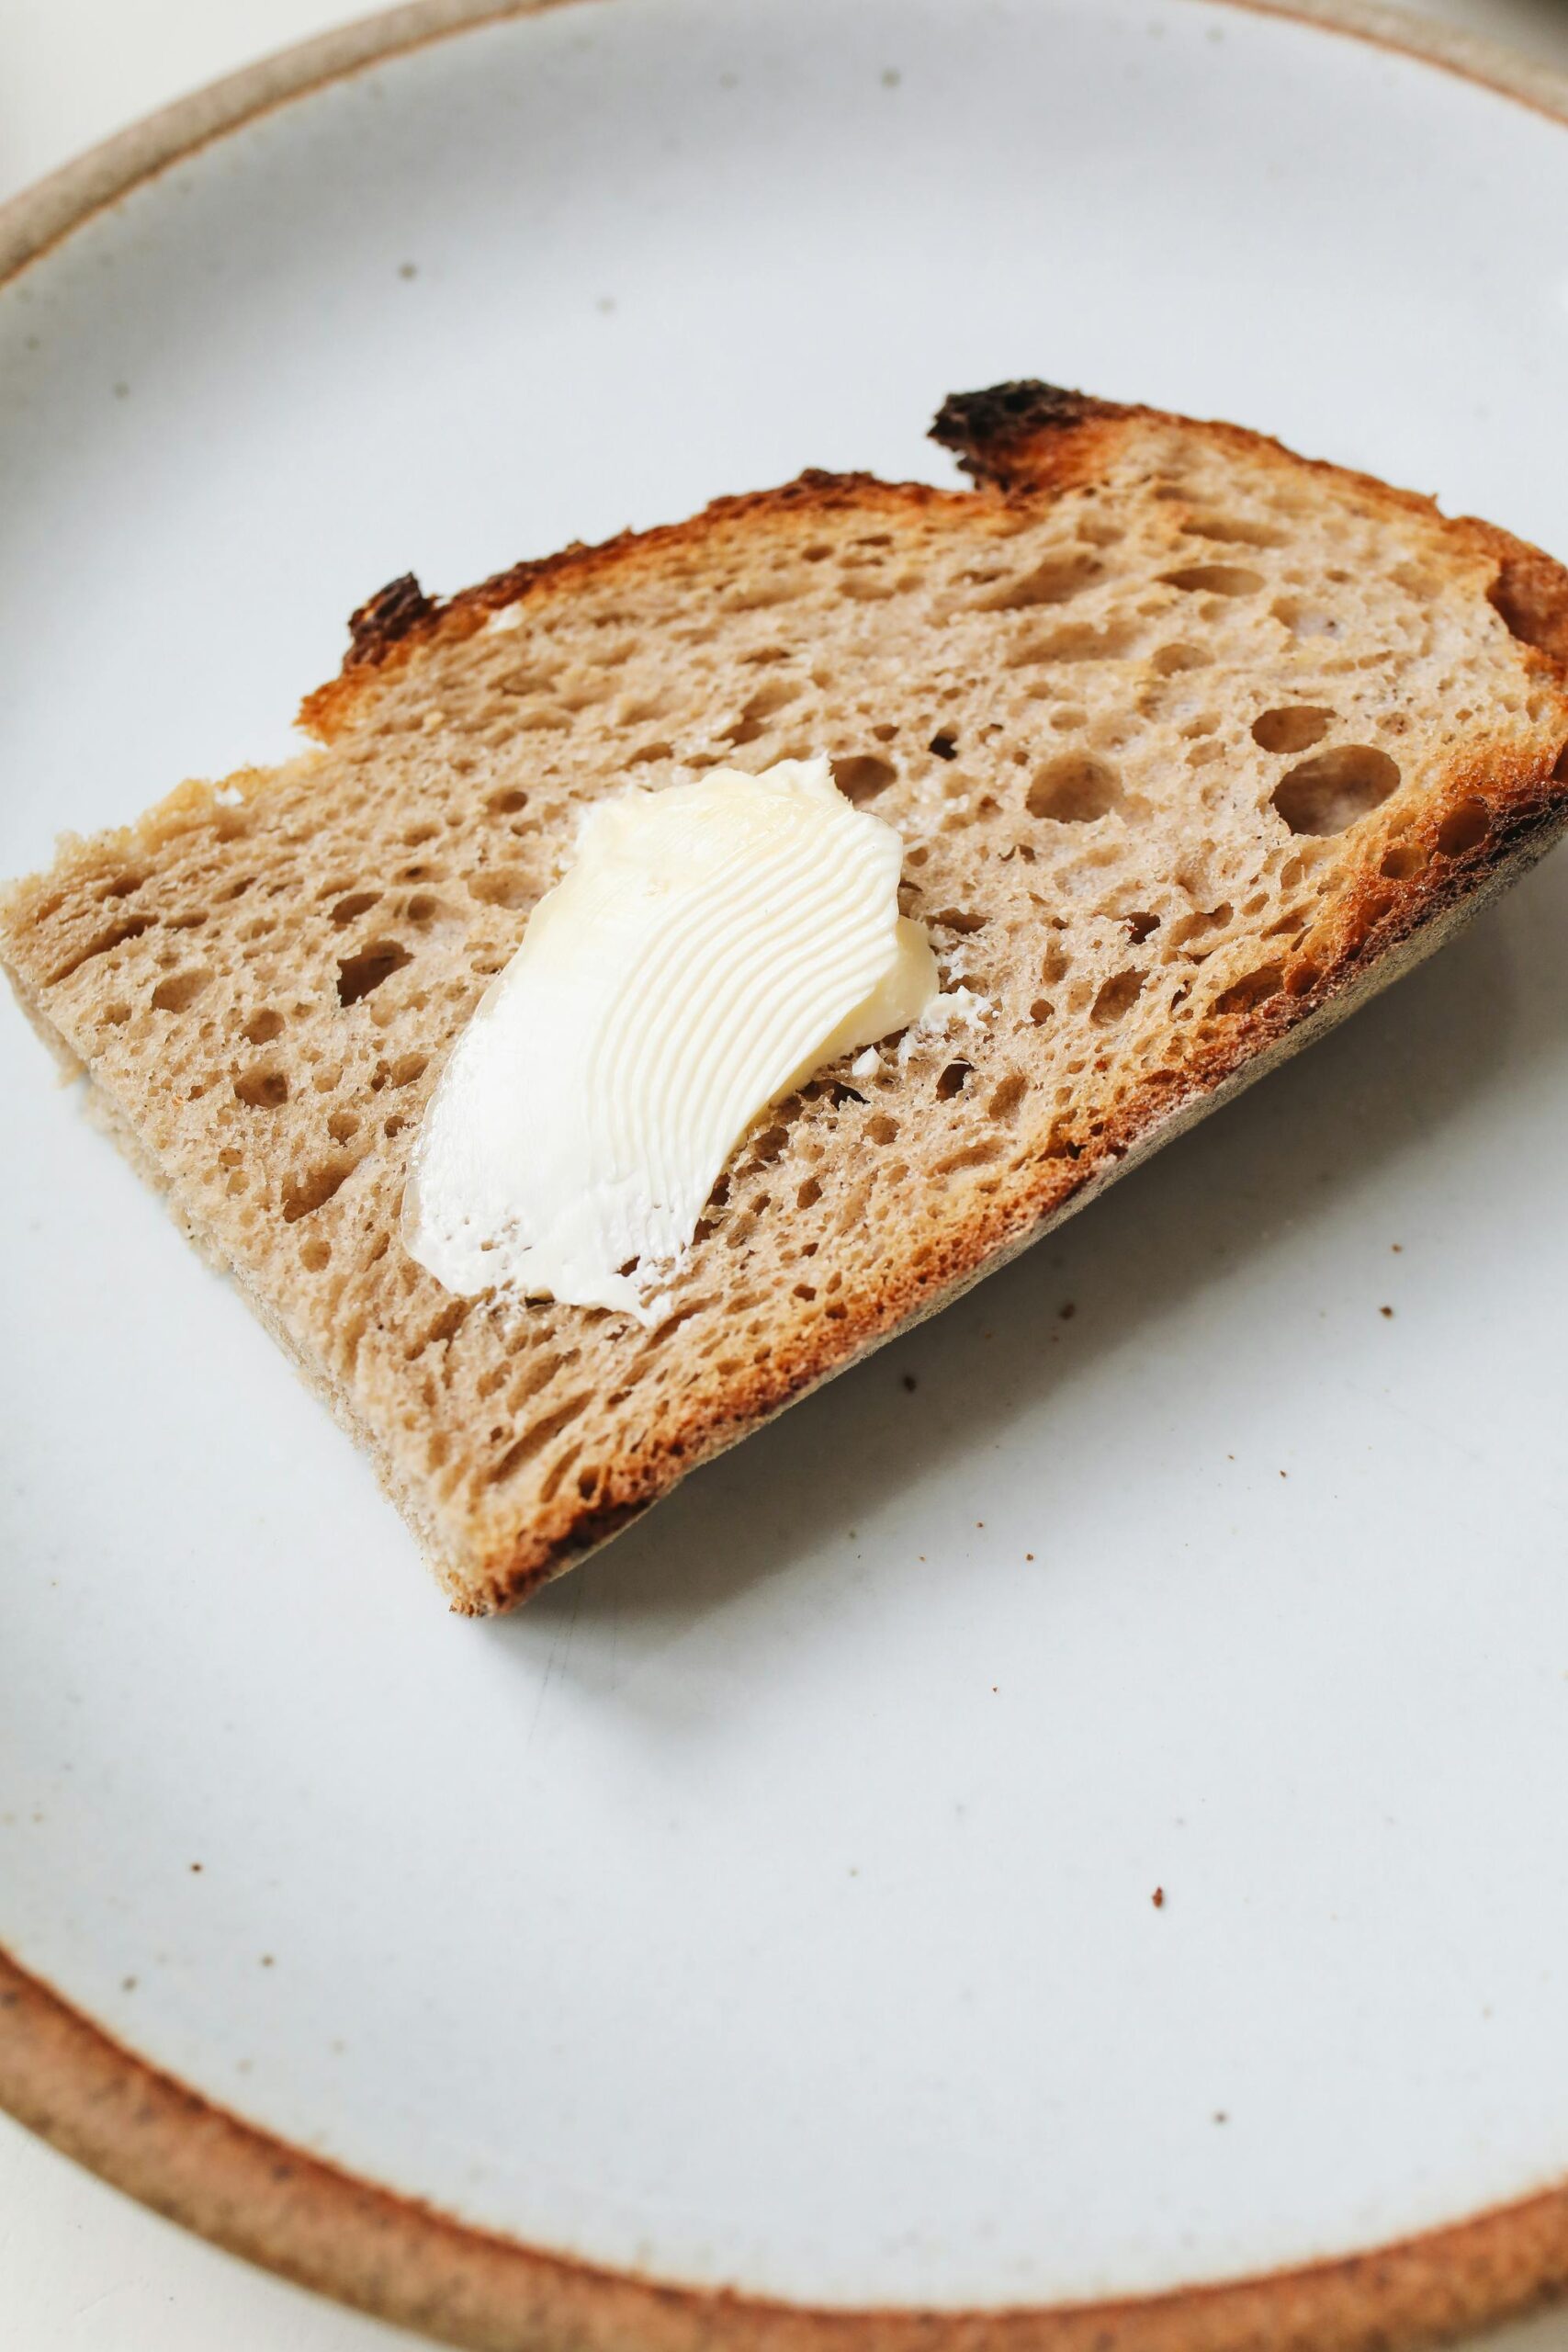
Whipped butter is easier to spread, even right out of the refrigerator. It is perfect for bread, muffins, and other baked goods.
Methods for Creating Spreadable Consistency
Spreadable butter can be made by mixing regular butter with mild oils. Common choices include olive oil or vegetable oil. Use a ratio of about 3 parts butter to 1 part oil.
Mix the softened butter and oil together in a bowl with a fork or a mixer until smooth. The oil keeps the butter soft, even when chilled. You can store it in a covered container in the fridge.
If you want a richer taste, try using heavy cream or milk instead of oil. Add flavors like herbs or honey for something special. Making your own spreadable butter lets you avoid hard butter and use simple, fresh ingredients.
Tips For Perfect Butter Texture

When you make whipped or spreadable butter at home, a few simple techniques can improve consistency and taste. The right cream, careful temperature choice, and good storage habits all help your butter stay creamy and easy to spread.
Choosing Cream and Ingredients
For smooth whipped butter, start with fresh, high-quality heavy cream. The fresher your cream, the better your butter will taste and feel. You want cream with a fat content of at least 35%.
If you want salted butter, add a small pinch of table salt or fine sea salt to the cream before churning. For a spreadable blend, some people mix in a little neutral oil (like sunflower or canola) after whipping. This keeps butter soft, even when cold.
Use only pure ingredients. Avoid flavored or ultra-pasteurized cream if you want a clean, classic taste. Always check dates and use ingredients well before their expiration for the best results.
Temperature Control and Timing
Butter texture changes a lot based on temperature. Let your cream sit out until it reaches room temperature before you churn. Cold cream will take much longer and can produce a crumbly result.
After you churn butter, give it a few minutes to drain off excess buttermilk. Pat your butter dry with a cold, clean cloth or paper towel. This step is important because leftover buttermilk can make butter spoil more quickly.
If you want whipped or airy butter, only whip the butter when it is soft but not melted. Use a hand mixer or stand mixer, and beat for a few minutes until it looks light and fluffy. Do not overmix or the butter can break down and become greasy.
Storage and Preservation
Store whipped or spreadable butter in a sealed container in the fridge. Soft butter will set if left out, so always keep it covered to stop it from drying out and picking up flavors from the fridge.
For easier spreading, you can divide butter into smaller pieces or use a butter dish with a lid. If you added oil to make it more spreadable, check it regularly for freshness, and use within two weeks.
Label your butter with the date you made it. If you want to keep it for longer, freeze smaller portions. Let frozen butter come to room temperature before serving to recover its smooth texture.
Conclusion
You can make both whipped and spreadable butter with a home butter churn. The process is simple and requires only heavy cream and, if you like, a bit of salt.
If you want whipped butter, churn the cream just until it’s fluffy and light. For spreadable butter, churn a bit longer, then mix in a small amount of oil for a softer texture.
Making butter at home gives you control over flavor and consistency. With just a few steps, you can enjoy fresh butter that meets your taste and needs.
Thanks for stopping by!
Magda
xoxo