Direct-to-Film (DTF) printing has taken the custom printing industry by storm. Whether you’re creating custom apparel, promotional products, or personalized gifts, DTF printing offers a cost-effective and versatile way to produce high-quality, vibrant designs. If you’re new to the world of DTF printing, the process may seem a bit intimidating at first, but with the right tools and knowledge, you can get started with ease. In this guide, we’ll walk you through each step of the process, so you can start your DTF printing journey with confidence.
What Is Direct-To-Film Printing?
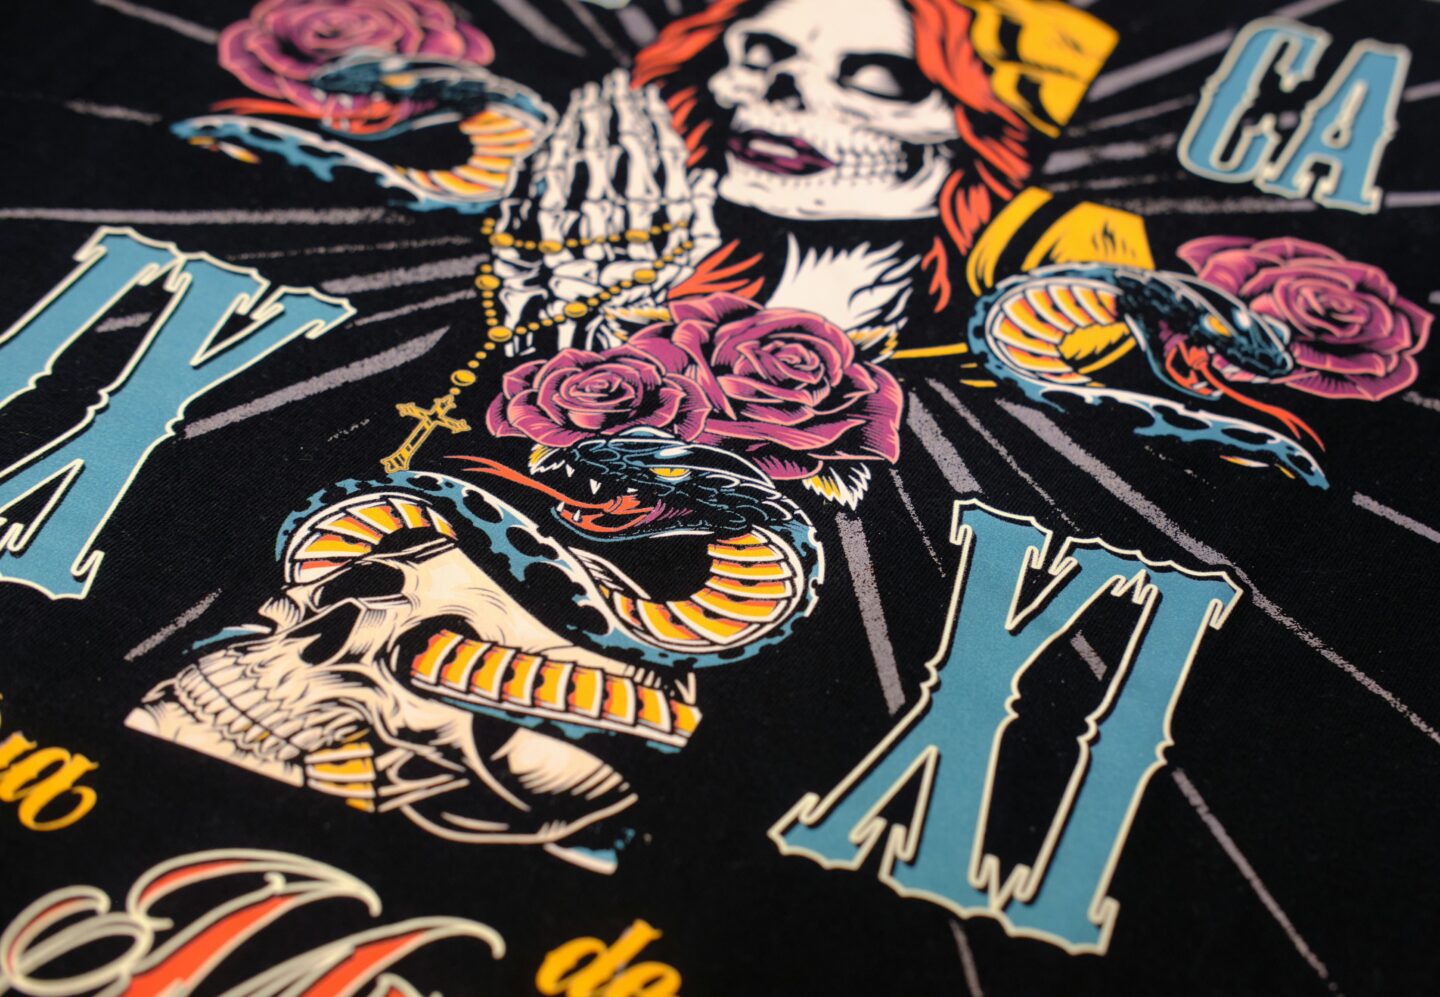
DTF printing is a relatively new technology that involves printing your design onto a special transfer film, then transferring it onto a variety of materials, typically using heat. Unlike traditional methods like screen printing or Direct-to-Garment (DTG) printing, DTF printing does not require a pre-treatment process or specialized equipment for each fabric type. Instead, it uses a flexible and highly durable approach that allows for vibrant, high-quality prints on almost any material, from cotton t-shirts to polyester fabrics, bags, hats, and more.
The method works by printing the design in reverse onto a transfer film, then applying a layer of adhesive powder. Once the powder is applied and cured, the design can be heat-transferred onto your chosen material. With its growing popularity, DTF printing has become a favorite for businesses looking for a more versatile, cost-effective, and efficient method to produce custom products.
Step 1: Gather The Necessary Equipment
Before you dive into the world of DTF supplies, you’ll need to gather the essential equipment. Here’s a list of the primary tools required:
- DTF Printer: A specialized printer designed to work with transfer films and DTF inks. This printer uses water-based inks, which are vital for achieving vibrant and long-lasting prints.
- Transfer Film: The film onto which your design will be printed. It’s a key component of the process and must be compatible with DTF inks.
- Adhesive Powder: This powder is sprinkled over the printed design while it’s still wet. The adhesive helps bond the ink to the fabric once it’s heat-transferred.
- Heat Press Machine: A quality heat press machine is necessary to transfer your design onto the fabric or other material. The heat press uses heat and pressure to permanently bond the design to the material.
Step 2: Prepare Your Design
Creating a high-quality design is crucial to achieving the best results with DTF printing. When preparing your design, keep these points in mind:
- Resolution: Your design should be at least 300dpi (dots per inch) to ensure it’s sharp and clear when printed. Using low-resolution files can result in blurry or pixelated prints.
- Color Settings: DTF printers work with the CMYK color model (cyan, magenta, yellow, and key/black). Make sure your design is created in the appropriate color mode to avoid color discrepancies.
- Design Software: Use design software such as Adobe Illustrator, Photoshop, or CorelDRAW to create or prepare your artwork. These programs allow you to adjust your designs for printing, ensuring they fit perfectly on the transfer film.
- File Formats: The most common file formats for DTF printing are PNG, TIFF, and PSD. These formats preserve high-quality images with transparent backgrounds, ideal for printing.
Once your design is ready, you’re all set to begin the printing process.
Step 3: Print Your Design Onto The Transfer Film
Now that your design is prepared, it’s time to load it into your DTF printer. The printing process involves printing the design onto the transfer film in reverse so that it appears correctly once it’s transferred onto the material.
Here’s how to do it:
- Adjust Printer Settings: Set your DTF printer to the appropriate settings for your design and materials. Ensure that the print quality is high and the ink is calibrated properly.
- Load the Transfer Film: Place the transfer film into the printer, ensuring it’s positioned correctly so that the design is printed on the shiny side.
- Print the Design: Begin the printing process. The printer will apply the ink to the film, creating a vibrant and detailed design. You’ll want to print in reverse so that the design appears correctly on the final material.
Once the design is printed, you’ll need to apply adhesive powder before it dries.
Step 4: Apply The Adhesive Powder
After your design is printed on the transfer film, it’s time to apply the adhesive powder. This step is essential for ensuring that the design adheres properly to the fabric during the transfer process.
Here’s how to apply the powder:
- Sprinkle Powder: While the ink is still wet, evenly sprinkle adhesive powder over the printed design. Make sure the entire design is covered with powder.
- Shake Off Excess Powder: Gently shake off any excess powder, leaving only the adhesive that sticks to the printed ink.
- Curing the Powder: Once the adhesive powder is applied, it needs to be cured. This is typically done by passing the transfer film through a curing oven or heat press. Curing the powder ensures that it bonds to the ink and is ready for the next step.
Step 5: Transfer The Design Onto The Material
Now for the exciting part: transferring your design onto the t-shirt, hoodie, or other material of your choice. This step requires a heat press machine to apply heat and pressure to the transfer film, ensuring the design bonds to the fabric.
Here’s the process:
- Set Heat Press Temperature and Time: Depending on the material you’re printing on, set the heat press to the appropriate temperature (usually between 320°F-350°F) and time (15-20 seconds).
- Apply the Transfer: Place the transfer film with the design onto the fabric, ensuring the printed side is facing down. Close the heat press and apply the heat and pressure.
- Peel the Film: After the heat transfer is complete, peel the transfer film away from the fabric. The design should be firmly attached to the material, with vibrant, crisp details.
Step 6: Inspect and Finalize the Print
Once the transfer is complete, carefully inspect the print for any imperfections. Check for issues such as fading, peeling, or cracking. If the print looks good, let the material cool before handling or packaging it.
To ensure long-lasting results, it’s essential to follow proper care instructions. Always advise customers to wash the printed materials inside out and avoid using harsh chemicals to maintain the quality of the print.
The Advantages Of DTF Printing
One of the key reasons DTF printing is growing in popularity is its versatility. DTF printing allows you to print on various materials beyond just cotton, including polyester, leather, and even wood. The process also offers vibrant, high-quality prints that last longer than other methods, such as screen printing or heat transfer vinyl.
A DTF printing collection can include a wide range of items, from custom apparel like t-shirts, hoodies, and hats, to promotional products such as bags and phone cases. This makes DTF printing an excellent choice for businesses looking to create a diverse range of custom products quickly and cost-effectively.
Conclusion
DTF printing offers a fantastic solution for creating high-quality custom designs on various materials. By following these six steps – from gathering the necessary equipment to inspecting your final print – you’ll be well on your way to mastering the process. Whether you’re a business owner or a hobbyist, DTF printing allows you to produce vibrant, durable designs that are sure to impress. With its flexibility, efficiency, and cost-effectiveness, it’s no wonder that DTF printing has become the go-to choice for custom printing. So, why not get started today? The possibilities are endless.
Thanks for stopping by!
Magda
xoxo