A food trailer is a lower-cost path into the food business, but the decisions you make before construction shape everything that follows. Here is a practical breakdown of what to settle first – hot vs cold, equipment, size, layout, permitting, and financing – and why the order matters.
Getting into the food trailer business is more accessible than opening a restaurant: no lease, no fixed location, and a much lower startup investment. But the decisions made before construction shape everything that follows – whether the trailer passes inspection, how well the kitchen runs during service, and whether the budget stays intact.
Why Choose A Food Trailer
A food trailer is a standalone kitchen on wheels. You tow it with a pickup truck, park, and disconnect – the tow vehicle leaves while the trailer stays. Without an engine or chassis built in, you get more usable kitchen space for your budget than a food truck, and the layout can be designed around your equipment from the ground up.
The format works for farmers markets, corporate parks, private events, festivals, and fixed spots with regular foot traffic. You are not tied to a lease, and if a location is not working, you move.
Hot Or Cold: The Decision That Shapes Everything Else
Before size or layout, you need to know whether your concept requires a hot or cold trailer. This choice determines the entire infrastructure of the build and cannot be changed easily later.
A hot trailer is built for cooking on-site: a commercial exhaust hood with fire suppression, roof ventilation, gas lines, and heat-rated interior materials. Taco, BBQ, burger, pizza, and fried chicken trailers all need this setup.
A cold trailer skips the cooking infrastructure and focuses on refrigeration, water systems, and workspace. Coffee, ice cream, juice and smoothie, and sandwich operations cooked off-site at a commissary fall here. Cold builds are cheaper and easier to permit, but place a hard limit on the menu.
Combination units are possible but require more square footage and careful planning from the start.
Equipment: Start Here Before Anything Else
Your equipment list is the foundation of every other decision. Size, layout, and utility requirements all follow from what needs to fit inside. Settling on a size before knowing your equipment is one of the most common planning mistakes.
For a hot trailer, the baseline is a commercial range, exhaust hood with fire suppression, reach-in refrigerator, prep table, and three-compartment sink – enough for most health department minimums. Beyond that, the list depends on the concept: a deck or conveyor oven for pizza, an espresso machine and grinder for coffee, a smoker for BBQ, sealing machines for bubble tea. Each piece has its own footprint, electrical load, and connections, and all of it has to fit and function together. A manufacturer experienced with your concept reduces the risk of incompatibilities.
Choosing The Right Size
Trailer sizes run from 16 to 30 feet. Once your equipment list is set, the right size is much easier to choose.
A 16-foot trailer fills up faster than most first-time buyers expect – once you fit a range, refrigeration, prep table, three-compartment sink, handwashing station, and two people, very little room is left. It works for a tight single-person concept with minimal equipment.
Most single-concept operations land at 20 feet, which gives enough room to run a complete service without bottlenecks while keeping towing manageable. For more complex equipment or two to three staff working at once, 24 feet and above starts to make sense.
The rule: let the equipment determine the size, not the other way around.
Planning The Layout Before Production Begins
With your equipment list and size in hand, layout is the next step, and it is one worth spending real time on. A hood positioned in the wrong place, a prep table that blocks the path to the service window, or a refrigerator too far from the cooking line are not minor inconveniences. They cause failed health inspections and make every service shift harder than it needs to be. Fixing layout errors after the build means cutting metal and rerunning utilities.
Golden State Trailers, a California-based manufacturer that ships nationwide, offers a free 3D configurator that lets you build a custom food trailer online before any commitment is made. You select your size, choose hot or cold, and place equipment from a catalog of NSF-certified commercial units. The most practical benefit is that you can export the plan and bring it to your local health department before production starts. Inspectors can review the layout on paper and raise concerns at the planning stage rather than on a finished trailer, which saves significant time and cost.
Financing The Build
Most people starting a food trailer do not pay for it upfront. Financing is the standard path, and understanding how it works before you are in the middle of the process makes the whole thing smoother.
The terms differ from a typical small business loan. Trailer financing is usually structured around the build timeline rather than a single lump-sum payout, and qualification looks at your industry experience and credit profile alongside the standard financial checks. A down payment is expected before construction begins, and the rest of the loan is released in stages tied to build milestones. During the build period most lenders charge interest only, with full repayments starting after delivery.
The specifics – down payment percentage, minimum credit score, interest rates, and lender requirements – vary by manufacturer and finance partner. If you want to understand how to finance a food trailer in detail, including current rates and qualification criteria, the manufacturer’s financing page is the most reliable source.
Permitting: Research This Early, Not At The End
Health department and fire code requirements vary by state and sometimes by county. Treating permitting as something to figure out after the build is how people end up with a finished trailer they cannot legally operate.
Most states follow the International Mechanical Code, Uniform Plumbing Code, and NFPA 96 for ventilation. California and Washington operate under their own certification bodies – HCD and L&I – with requirements that differ from the national codes. If you are building or operating in either state, plan around them from the start.
Common inspection failures involve hood clearance, handwashing station placement, sink compartment sizing, and ventilation penetrations – all layout-level decisions. Reviewing your plan with a local inspector before production begins is one of the most effective ways to avoid them.
The Order Of Decisions Matters
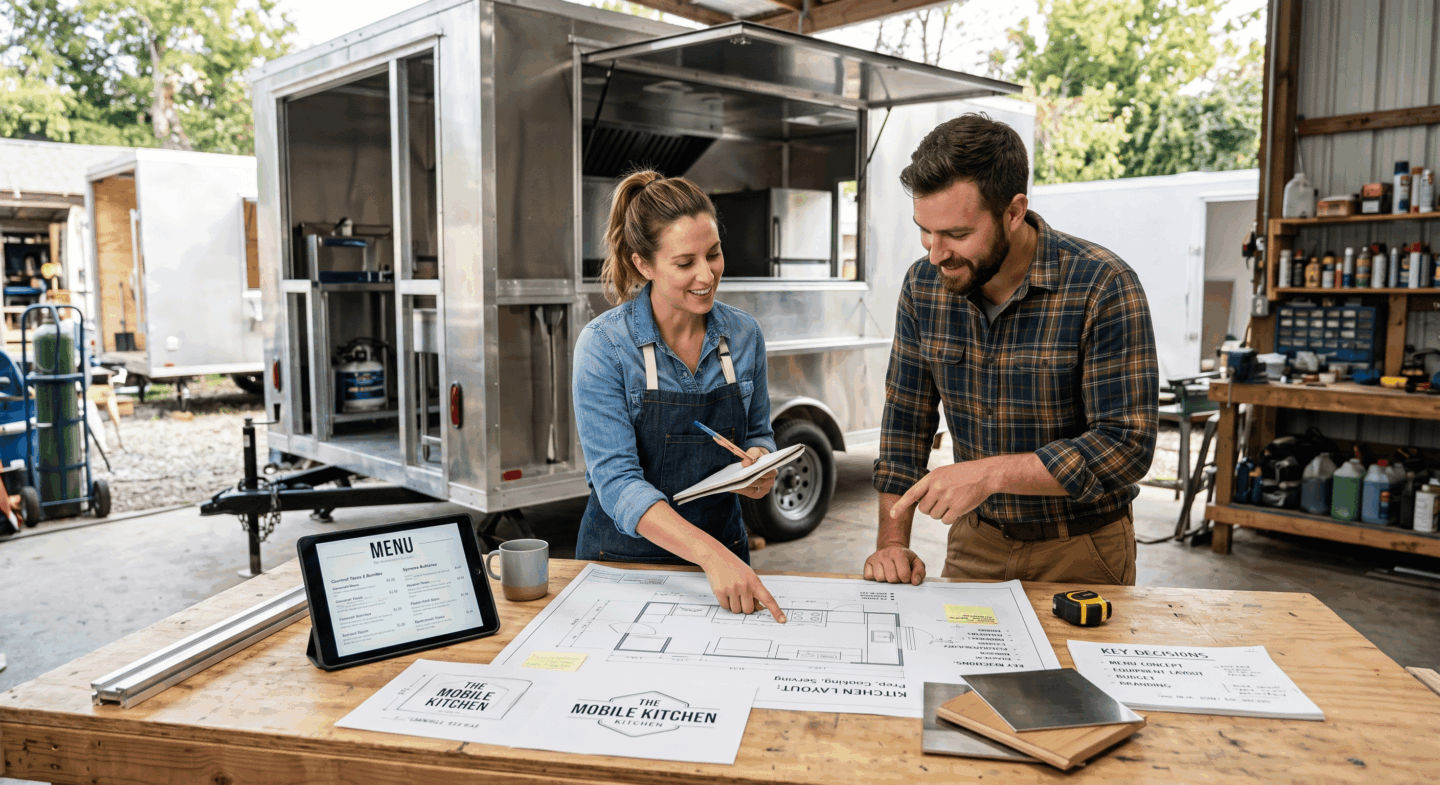
The planning process works best in sequence: know your concept and whether it is hot or cold, build your equipment list from your menu, let that list determine your size, plan your layout, research permitting early, and have financing sorted before contacting a manufacturer.
Each decision feeds into the next. Getting the sequence right is what keeps the build on track and the inspection on the first attempt.
Thanks for stopping by!
Magda
xoxo
<3