Why Turning Photos Into A Book Still Matters
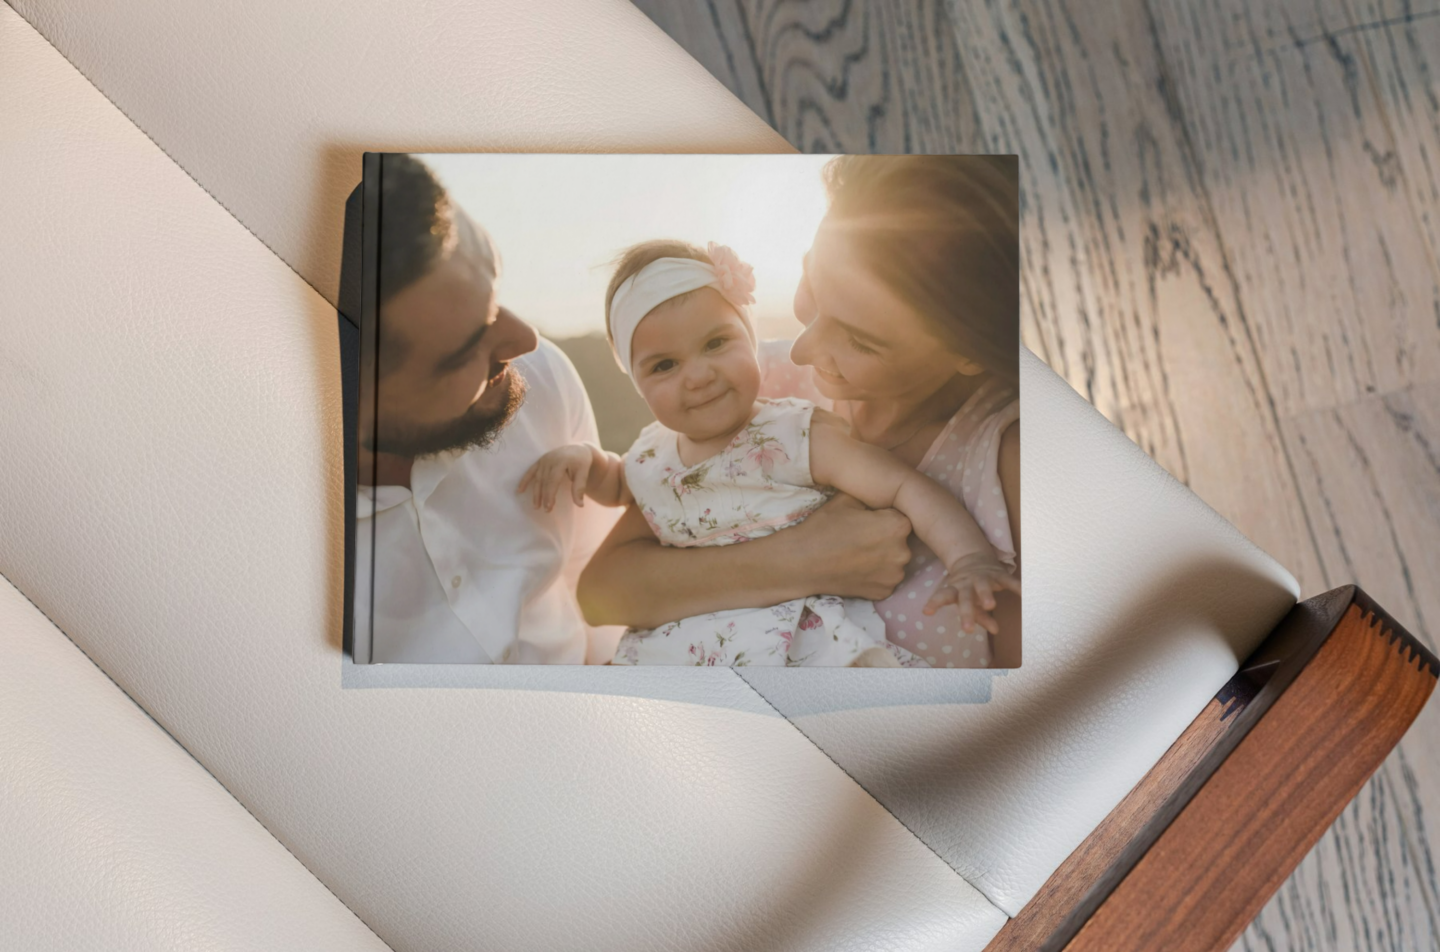
In an age of endless scrolling and fleeting digital feeds, there is something quietly powerful about holding a physical collection of photographs. Transforming your best images into a tangible keepsake does more than preserve memories – it tells a deliberate visual story, one that carries emotional weight across generations.
A well-crafted photo book is a professional-grade way to curate personal milestones or a creative portfolio, evoking a feeling in a way no screen can truly replicate. The encouraging part? Anyone can create a visually compelling book with thoughtful planning, regardless of prior design experience.
Define Your Purpose And Theme
Before selecting a single image, establish a clear narrative theme to unify the entire collection. Family milestones, travel adventures, wedding stories, and hobby documentation are all natural starting points – but creativity flourishes well beyond these defaults. A hobbyist photographer, for instance, might sequence a year’s worth of hiking shots to reveal seasonal progression, turning individual moments into a cohesive arc.
A strong theme also serves a practical function: it guides the editing process, reduces overwhelm, and ensures the book flows naturally from first page to last. Start by browsing your full photo library and noting which images spark the strongest emotional response – those gut reactions are your most reliable compass.
Select And Curate High-Quality Images
Quality always outweighs quantity. Shortlist images that are technically strong, sharp, and high-resolution – a minimum of 300 DPI ensures clean, detailed print results. Sort your candidates by date, event, or emotional tone, and aim for genuine variety: wide establishing shots, intimate close-ups, and peak emotional moments all contribute to a reader’s engagement.
A practical approach is to start with around 500 raw candidates, then ruthlessly eliminate duplicates and low-impact shots until roughly 50 powerful images remain. Use digital gallery tools to organize and flag your top performers early. From there, create a gallery of your selected images and explore options like a photo book service that simplifies uploading and organizing high-resolution files into a structured workflow.
Plan Your Book’s Structure And Specifications
Before designing a single layout, get comfortable with the technical framework. Common book sizes include 8.5×11 inches for landscape-heavy work or 6×9 inches for portrait-driven storytelling. Page counts typically need to fall in multiples of four, and every printer will have specific requirements around bleed, trim, and safe margin zones.
Consulting these specifications early prevents costly revisions down the line. Factor page count into your budget from the outset, too – additional pages add up faster than most people expect.
Design Captivating Layouts And Visual Flow
Establish a grid or guide system to maintain alignment and visual consistency across spreads. Balance is everything: alternate full-bleed images with half-page compositions and deliberate negative space to give the eye room to breathe.
Vary your layouts to sustain momentum throughout the book – panoramic spreads convey grandeur, trios suggest movement, and a solitary hero image can command real emotional weight. Weaving coordinated color tones throughout, such as pairing warm sunset landscapes with complementary indoor portraits, creates a subtle visual thread that deepens engagement without ever feeling forced.
Master Typography And Text Integration
Limit your font selection to two typeface families, used across two to three consistent sizes. Typography should serve the photographs, not compete with them. Captions work best when they are concise and context-driven – a short, well-placed sentence can meaningfully elevate a reader’s understanding of an image without overwhelming it. Maintain a clear visual hierarchy so that headings, captions, and any body text remain legible in print.
Review, Proof, And Prepare For Printing
A thorough review process is non-negotiable. Check every image for resolution, verify layout flow spread by spread, and confirm color accuracy against your monitor calibration. Request paper samples from your printer, gather multiple quotes, and if possible, have a trusted proofreader examine the final file. Printing a single test copy to inspect bleed alignment and binding quality can save considerable expense before committing to a full print run.
Finalize And Share Your Masterpiece
Once printed, consider paper weight, binding style, and cover finish – each detail contributes to the book’s durability and its overall feel in the hand. A well-made photo book is both a meaningful gift and an enduring heirloom. More than that, the act of curating one transforms scattered memories into a story told with real intention. Gather your photos, define your narrative, and let the process begin.
Thanks for stopping by!
Magda
xoxo