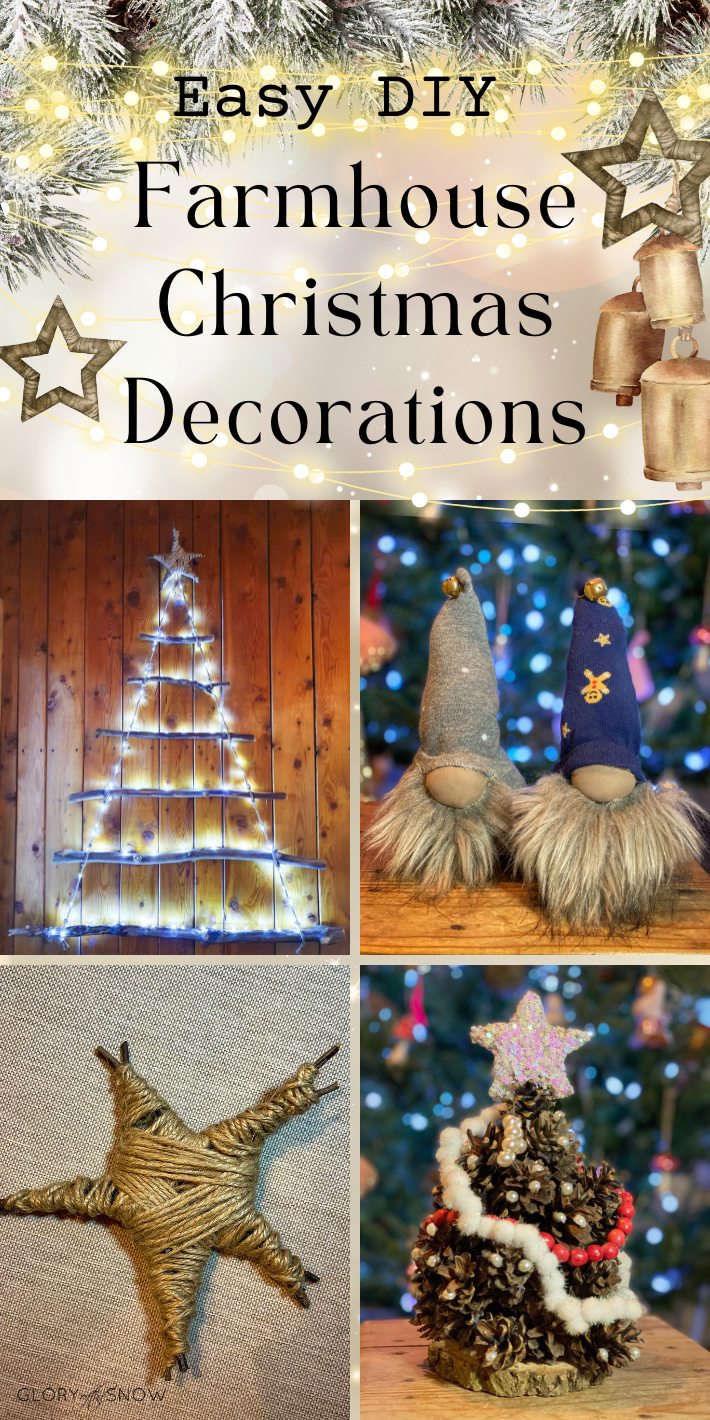
These easy DIY farmhouse Christmas decorations will bring a touch of rustic charm to your home this holiday season.
The farmhouse-style decor evokes feelings of comfort and cozy living – perfect for Christmas!
These three DIY farmhouse Christmas indoor decoration ideas on a budget are easy to make, and they will bring cozy, rustic vibes into your living room this holiday season.
These farmhouse Christmas decor projects are also cheap as they use natural elements and stuff you probably already own.
1. Christmas wall decoration ideas: DIY Wall Hanging Twig Christmas Tree With A Rustic Twig Star

One of the hallmarks of farmhouse home decor style is the use of natural elements such as wood. Imagine a snug cabin in the woods decorated for Christmas – you could transfer these Christmas cabin decorating ideas into your home to create a super cozy atmosphere.
This DIY wall-hanging Christmas tree with a rustic twig star is a sustainable and stylish holiday decoration that will bring a warm, natural touch to your living space. With just a few materials, you’ll be able to make a unique and charming addition to your home that will have everyone asking where you got it.
Let’s look at how to make the rustic twig star first.
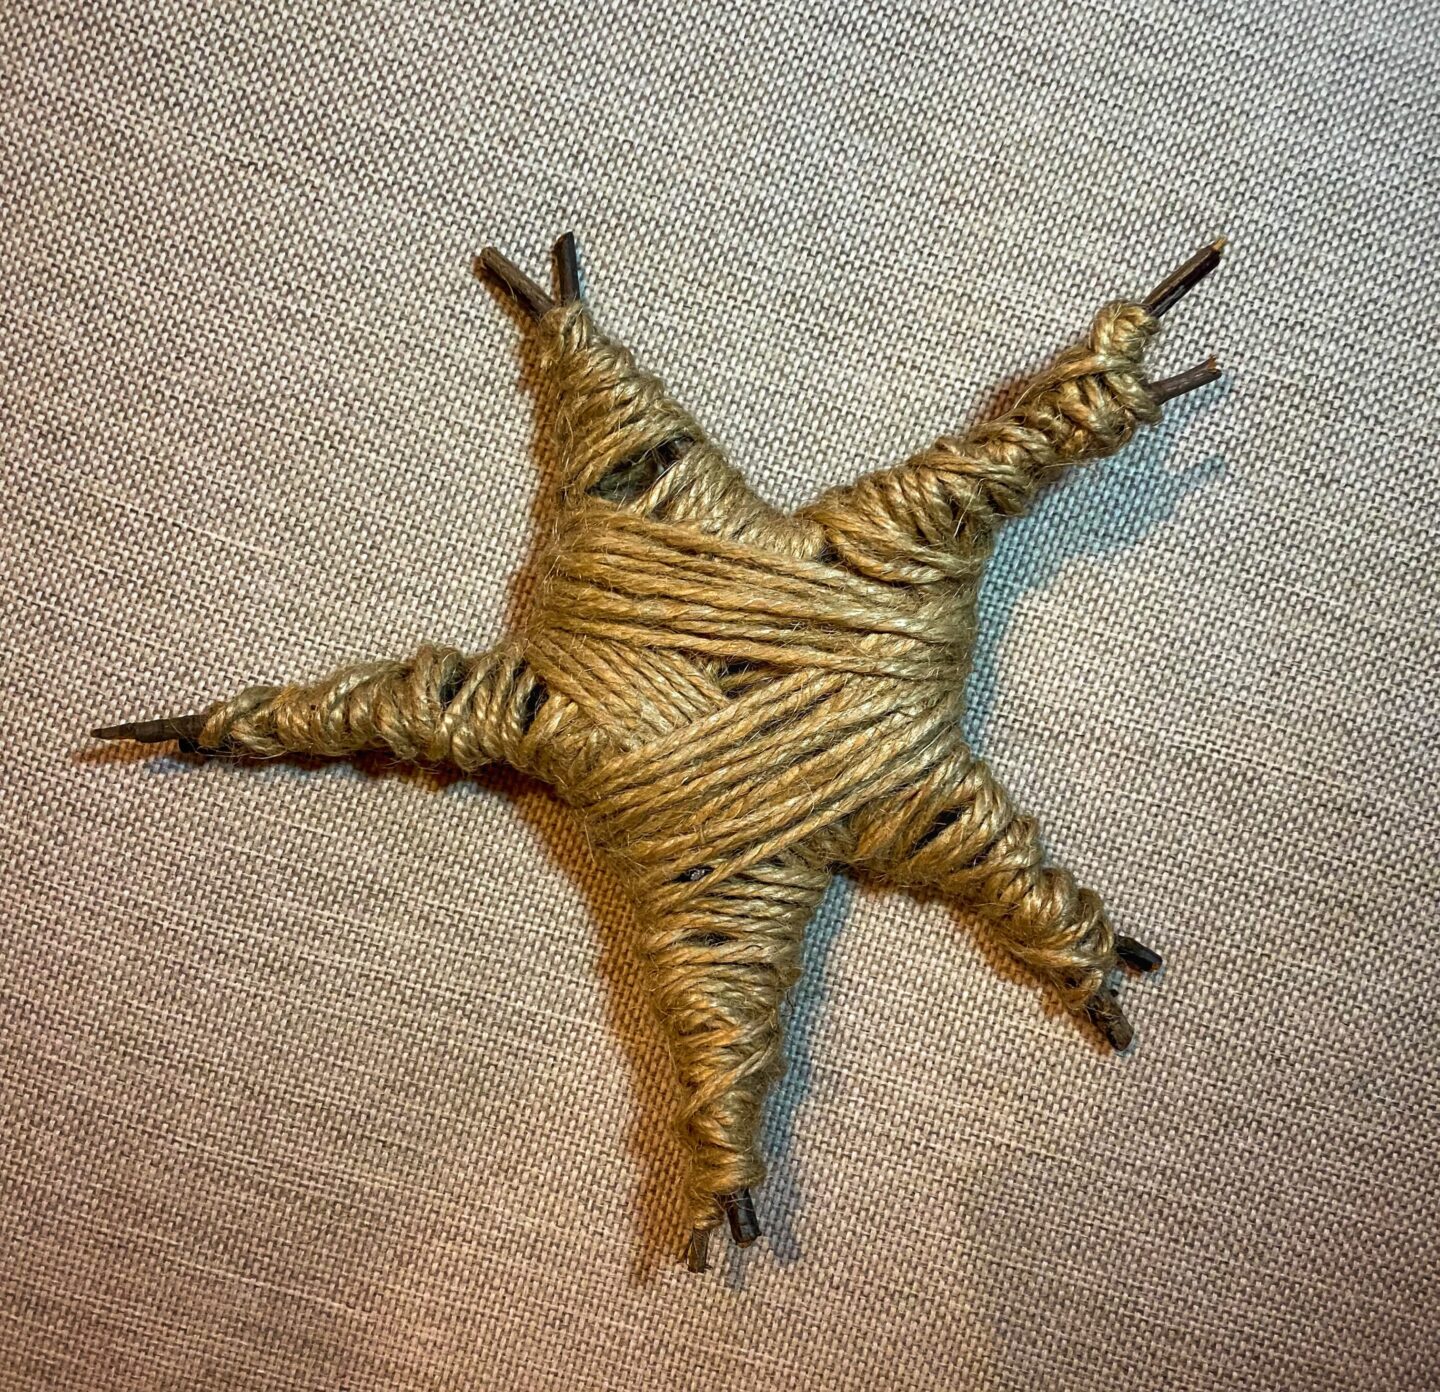
How To Make A DIY Rustic Twig Star
Step 1: Gather Your Supplies
To make a DIY rustic twig star, you will need the following:
- twigs or sticks – any size will do; however, they should be relatively uniform in size
- jute string
- scissors
Step 2: Create A Star Shape
Once you have gathered your supplies, it’s time to start crafting!
Begin by making the shape of a star out of twigs/sticks. Arrange them so that the points of the star overlap in the center.
Secure all overlapping points together with string.

Make sure your points are evenly spaced around the star shape for a more balanced look.
Once you have achieved your desired shape and secured the twigs in place, you are ready for the next stage.
Step 3: Attach The String
Now that you have created your star shape, it’s time to add some rustic charm!
Take your rope or string and attach one end securely to one side of the star shape. Then, wrap it tightly around each point until you reach the starting point again (you may need extra rope).
Make sure that each point has an even amount of rope wrapped around it for a more symmetrical look. Once you have finished wrapping, cut off any excess rope and secure it by tying it off and tucking it into the star shape you have created.
Now your rustic twig and rope Christmas star is ready to hang on your tree!

Let’s move on to the DIY wall-hanging twig Christmas tree now.
How To Make A DIY Wall Hanging Twig Christmas Tree
Step 1: Gather Your Supplies
To get started, you’ll need to gather the tools and materials required to make your DIY wall-hanging twig Christmas tree.
You will need the following:
- branches and twigs in different sizes
- jute string
- scissors
- a small saw
- fairy Christmas lights
- a hook
Step 2: Get Your Measurements
The next step is deciding where you want to hang your twine Christmas tree, which will dictate how long it will be.
Once you know how tall your tree should be, mark the area of that size on your working surface and arrange your branches and twigs in size order to create a tree shape that fits that length.
You may need to cut some branches and twigs down using a saw.
Step 3: Connect The Twigs
Starting with the bottom, longest twig, connect all the twigs together with the jute string.
Tie a knot at the end of the string and then tie the next knot, allowing a gap in between that is the same diameter as the twig/branch. By leaving a gap, you can separate the string (between the two knots) to make a loop to put the twig/branch through.
Repeat the process to the top of the tree and then make a loop, enabling you to hang the tree. The next step is to repeat the process, but this time, work down the other side until you have knotted the bottom twig/branch.
Once all twigs/branches are in place and threaded through their loops (securely), cut off the excess string.
Step 4: Decorate Your Tree
The next step is to hang your tree on a hook and decorate it on the wall.
Wrap the wire fairy lights around the twigs first, then add your star. You can then add any other decorations that you want, such as baubles, ornaments, ribbons, etc.
2. DIY Farmhouse Christmas Decorations: Scandinavian Christmas Gnomes

Textiles are an easy way to add warmth and texture to your home during the Christmas season.
This DIY Christmas sock gnome is an easy and fun way to bring some extra holiday cheer into your home this season! With just a few simple materials from around your house and some creativity, you can make these cuties in no time at all. And once they’re done, they’ll be sure to bring smiles wherever they go!
How To Make DIY Scandinavian Christmas Gnomes From Socks
Step 1: Gather Your Supplies
The great thing about this project is that it doesn’t require many materials, and you probably already have most of them around your house.
All you need is the following:
- two socks – one plain sock for the body and one more colorful/patterned sock for the hat (to make your gnomes in Scandinavian Christmas style, try sticking with neutral color schemes like cream, beige, brown, and white, along with festive hues like red and green)
- nylon stocking – for the nose
- faux fur – for the beard
- elastic bands
- soft stuffing – such as cotton balls, for the nose and hat
- filler – for the body, such as uncooked rice or beans
- scissors
- hot glue gun and glue sticks
- small Christmas jingle bell – to decorate the hat
Step 2: Make Gnome Body
Fill your plain sock with rice or beans. You want to stuff it enough so it stands up but still has some shape – too much stuffing will make your gnome look lumpy.
Tie the sock with an elastic band (you could also knot it, sew it, or glue another piece of material on top instead), and cut the rim of the sock off.
Step 2: Make Gnome Nose
Isolate a bit of the sock with rice to create a nose shape. Wrap around a piece of the nylon fabric sock and secure it with an elastic band.
Step 3: Make Gnome Beard
Cut the faux fur to the desired beard shape, allowing for the nose.
Glue the fur right underneath the nose.
Step 4: Make a Gnome Hat
Stuff the colorful sock with cotton balls and attach it to your gnome with glue so that the top edge of the beard is covered. Attach the small jingle bell to the top of the hat.
And there you have it – a cute little holiday friend that was made with love in no time at all!
3. DIY Farmhouse Christmas Decorations: Pine Cone Christmas Tree

You can also get creative with nature-inspired accents like pine cones to bring a touch of rustic charm to your Christmas decorations. It’s one of the Christmas cabin decorating ideas that can be used in a city apartment to make you feel like you are in the countryside.
Creating a DIY pine cone Christmas tree is an easy yet festive way to decorate for the holidays this year. This project is easy enough for crafty kids and adults alike and will create a beautiful piece of art that you can enjoy all season long.
If you are looking for DIY Christmas shelf decor or coffee table decor ideas, this project is for you! This DIY pine cone Christmas tree will also make a beautiful centerpiece for your Christmas dinner table.
Let’s get started!
How To Make DIY Pine Cone Christmas Tree
Step 1: Gather Your Supplies
This project is incredibly easy and inexpensive.
You will need the following:

- pine cones
- round wood slice
- hot glue gun and glue sticks
- cardboard, cotton wool, and glitter to make the star topper
- whatever you choose to decorate your tree with – I used some old red beads from a broken necklace and white pom poms to make chains and self-adhesive flat pearls (I had to use glue on them as they would not stick properly)
Step 2: Assemble Your Tree
Begin with gluing the pine cones on the wood slice facing outwards, starting from the bottom and working your way up to the top, creating the shape of a Christmas tree. Make sure each cone is securely attached before moving on to the next one.

Once all pine cones are glued into place, it’s time for extra decoration with your beads, pom poms, etc.
Step 3: Make The Star Topper
I cut two identical stars from cardboard and glued them together, leaving a small opening on the bottom.
I then glued cotton wool on both sides. The next stage was to cover cotton wool with glue and sprinkle star-shaped glitter generously all over.
The last thing to do was to glue the star to the top of the tree by covering the top of the pine cone with the small opening on the bottom of the star.
Once your tree is finished, take a step back and admire your handiwork with a cup of hot cocoa.
It’s amazing how something so simple can be turned into such a beautiful piece of art. Display it proudly in your home as an ode to the creativity and spirit of the holiday season!
With the above DIY simple rustic Christmas decorations, you can easily transform any home into a cozy farmhouse retreat this Christmas season.
I hope you have a lot of fun making these farmhouse Christmas crafts.
Before you go, you may want to check out the other DIY Christmas crafts for adults and kids below.
Explore More DIY Christmas Crafts
DIY FRAMED JEWELRY CHRISTMAS TREE
DIY MASON JAR CHRISTMAS GIFT IDEAS
Have a great Christmas, and thanks for stopping by!
Magda
xoxo
If you enjoyed this post featuring DIY farmhouse Christmas decorations, please pin this post on Pinterest so that you can come back to it later and help it reach more readers.
***PIN IT***
